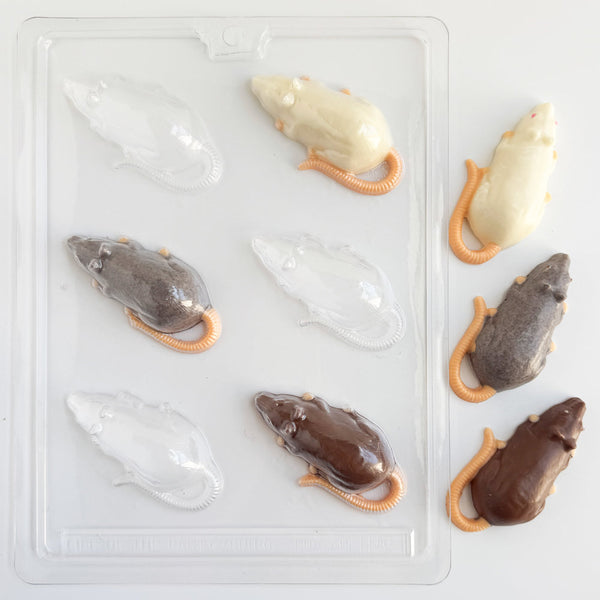

Are these mice or rats? Apparently that's up for debate.
Either way, they're a little creepy, a little cute, and even better when you bite into one and discover the creepy oozy cream filling inside.
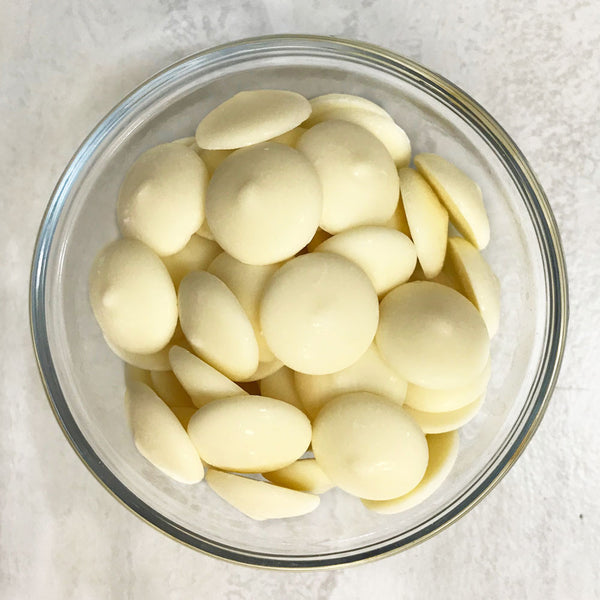
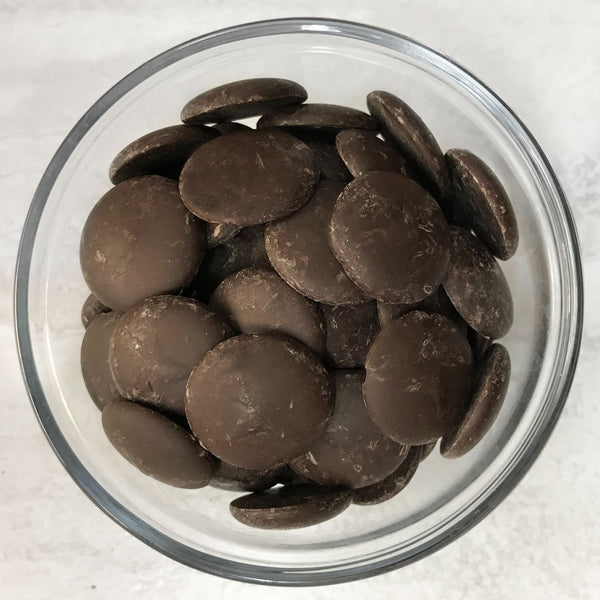
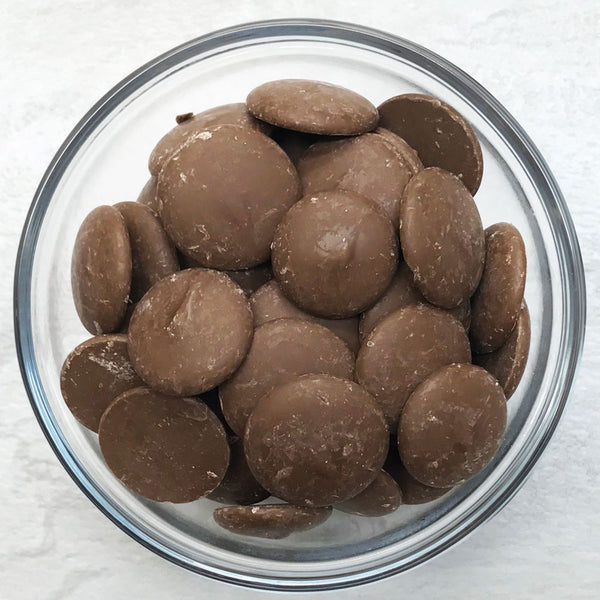
These cream-filled chocolate mice are such a fun Halloween candy idea, and they're so much easier to make than they look. You can make them even if you're not a professional treat maker, trust me, you've got this! All you need is our mouse or rat chocolate mold, chocolate melts, and your favorite candy filling.
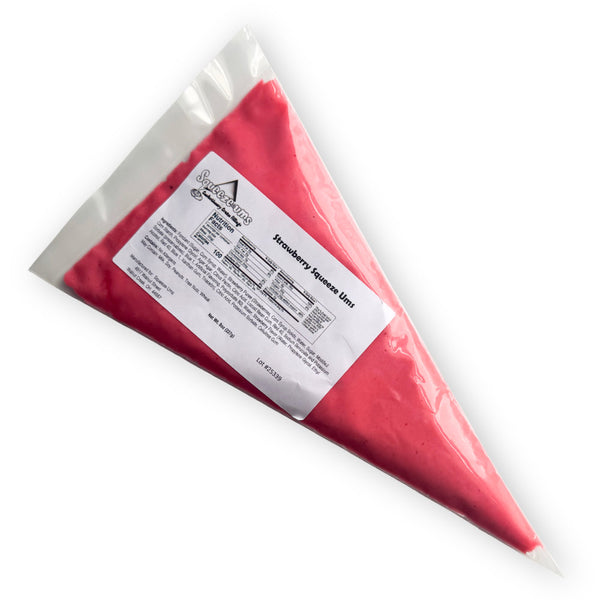
I used our Strawberry SqueezeUms Soft Cream Filling because the red was too perfect for Halloween that it felt too wrong not to.
What You'll Need to Make Chocolate Mice
You'll only need a few candy making supplies:
For my mice, I used Strawberry SqueezeUms, but we carry so many different flavors of candy fillings that you can choose from. You can also make your own using our soft cream filling recipe and flavor it however you'd like.
Candy maker tip: If you're making your own soft cream filling, LorAnn Candy Flavorings make it really fun and easy to change up the flavors! You can also add AmeriColor gel food coloring to color your filling any creepy color you'd like.
How to Make Cream-Filled Chocolate Mice
Melt Your Chocolate
Start by melting your chocolate melts, see How to Melt Merckens Chocolate Melts here. You can melt them in a pastry bag (which I find the easiest) or in a microwave safe glass bowl.
One reason I love using chocolate melts for molded candy is that there's no tempering involved. Melt them in the microwave, mold, and then let them set.
Fill the Tails
Fill the mouse/rat tail portion of the cavity with melted chocolate (preferably using a piping bag). Once they're all filled, allow the mold to sit at room temperature for about 5 minutes or until the tails are completely set and firm. You could place them in the refrigerator to speed up the process, but there is a risk that the tails will pull away from the mold and pop out.

Make the Chocolate Shells
Fill the mouse or rat chocolate mold with the melted chocolate, this is where the pastry bag comes in handy, you can just squirt the chocolate right into the mold cavities, it's easier than spooning it in!

Tap the candy mold onto your work surface to bring air bubbles to the top. Transfer the mold to your refrigerator and let it set for about one minute.
After a minute, check on the mold. Lift it up and tilt it slightly to move the chocolate. Notice the very edge, it should be ever so slightly set up and forming a ridge.

Dump the excess melted chocolate from the mold and onto a sheet of parchment paper (don't worry, you can remelt the dumped chocolate and use it to make more cream filled mice!). Lightly shake out the excess chocolate, but be gentle, you want to leave behind a coating of chocolate.

Place the chocolate coated mold back into the refrigerator to let the shells set up before adding your cream filling.
Add the Candy Filling
Now for the fun part!
Pipe your candy filling into each chocolate shell, but don't fill it all the way to the top. You need to leave some room to add another layer of chocolate over the filling to seal everything in.

I love the look of the strawberry cream filling because that bright red center makes these considerably more disturbing when someone takes a bite. Which, obviously, is the goal.
Seal the Filled Chocolates
Cover the filling with melted chocolate, work around the edges first and then into the center. Tap the mold onto your work surface to evenly spread out the chocolate.

Place back into the refrigerator for 5-10 minutes.
Un-mold Your Chocolate Mice
Once they're completely set up you can easily remove them from the chocolate mold.

And that's it! Now you have a plate of cream-filled chocolate rodents.
Halloween really is a special time.

What Can I Use to Fill Chocolate Mice?
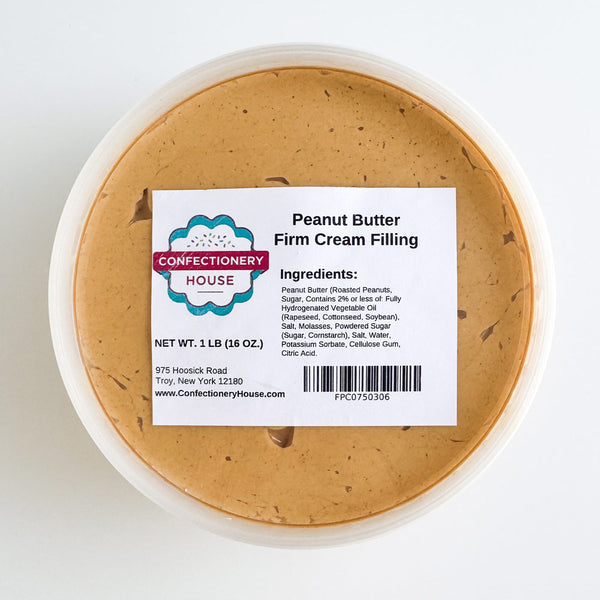
This is where you can have fun. You could use any of our premade candy fillings. Raspberry, vanilla, caramel, or hear me out...peanut butter candy filling!
Someone pointed out on TikTok that peanut butter would look like the last thing the rat ate...so there's that.
If you'd rather make the filling yourself, you can follow our soft cream candy filling recipe.
More Halloween Candy Ideas
Once you know how to make filled chocolates using a candy mold, you can use the same basic technique with all different shaped molds and fillings. You just want to make sure the chocolate mold you select has a depth of at least 1 inch.
For Halloween, try creepy shapes like rats, brains and human hearts, or if you don't want to make people hesitate before eating your treats, try something cute like pumpkins, or ghosts!
Browse our Halloween Chocolate Molds for more ideas, or check out our blog for other Halloween candy-making tutorials for even more inspiration.
Because if the Halloween dessert table isn't mildly alarming, what are we even doing?